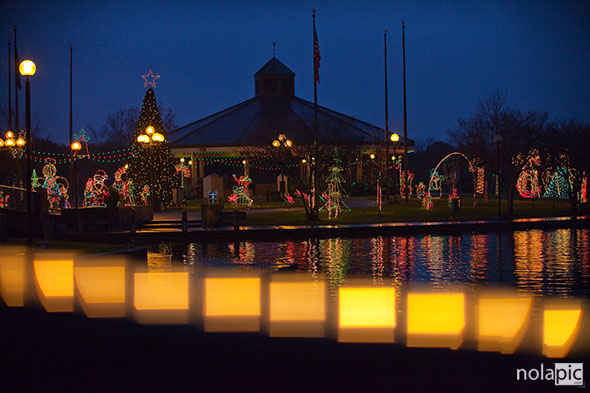
From Wikipedia: In photography, bokeh is the blur,or the aesthetic quality of the blur, in out-of-focus areas of an image, or “the way the lens renders out-of-focus points of light”. Differences in and shape cause some lens designs to blur the image in a way that is pleasing to the eye, while others produce blurring that is unpleasant or distracting— “good” or “bad” bokeh, respectively. Bokeh occurs for parts of the scene that lie outside the depth of field. Photographers sometimes deliberately use a shallow focus technique to create images with prominent out-of-focus.
What lenses are best for a good bokeh? A large aperture lens with a fast or very fast aperture (smaller numbers=larger maximum aperture) would be necessary so a lens with a maximum aperture of 1.8 or 1.4 will be very good, I use most of times a Canon EF 85mm f1.2L II USM, which is indeed super fast and bright but again 1.4 or 1.8 is good already and it won’t break your bank account!
Bokeh, bokeh shapes and boke filters:
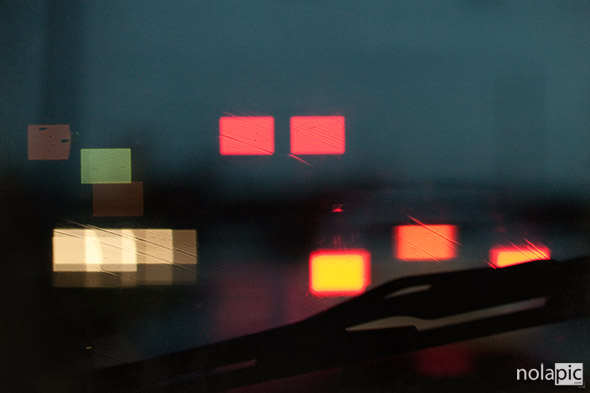
Recently, photographers have found how to exploit the shape of the bokeh by creating a simple mask out of card with the shape that the photographer wishes the bokeh to be, and placing it over the lens. Common shapes are stars and hearts, but it is possible to create it with almost any shape imagined.
After owning that fast lens ( and a camera..DUH!) you will need the following:
- Spare Camera lens cap to fit the size of the lens you will be using to do bokeh shots with
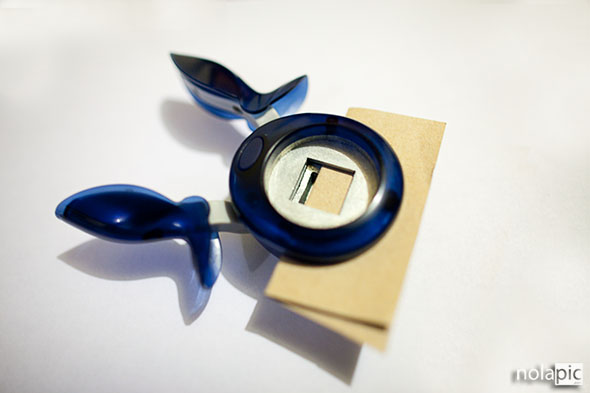
- Squeeze paper Punch (pictured here is a 3/4″ x 3/4″ square puncher)
- One thin sheet of black carboard
- Knife
- Candle
- Tape or glue
- Black Marker (if using a light color cardboard)
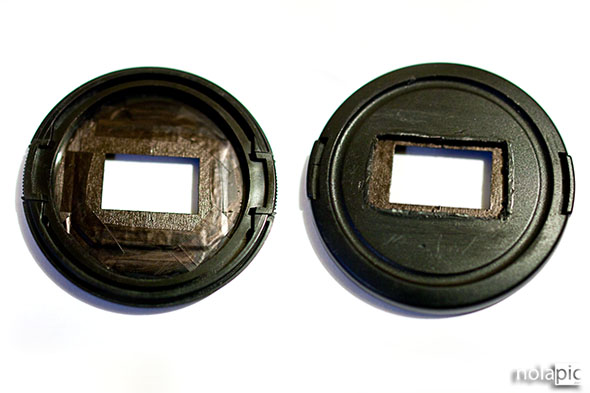
Light up a candle and after your knife is super HOT cut the rectangular shape in your lens cape roughfly in the middle of the cap. Don’t worry if it’s not super straight or super smooth, since the cardboard mask that you have previously made with the puncher is what is gonna give you the clean bokeh edges that you want. Do not try to cut the bokeh shape/mask with scissors or an exacto knife, otherwise your bokeh will look fuzzy and imperfect (not what we want). All you need to worry is that the cut in the cap will be fairly large and larger than your actual carboard mask with the bokeh shape. The puncher shown here has a hole of 3/4″ x 3/4″. Since its hole is square and I wanted a rectangular bokeh, I folded my carborad in half , so my cutout shape will be rectangular.
Do keep in mind that the smaller the bokeh mask hole you ‘ll make, the less the light it’s going to get to your lens, forcing you to either:
- Shoot with a higher ISO and therefore getting a grainier (more noise) picture
- Use a tripod or even worse get a blurry shot instead
After you cut the lens cap sand it off and make smooth on the inside (the side facing the lens) so you can glue your bokeh mask in there, you really only have to worry about placing the bokeh perfectly leveled, since you are gonna be able to rotate the lens cap and make it horizontal as you please, once your bokeh “filter” is on the camera.
Last but not least, do not forget that to get the most evident bokeh you’ll always need to keep these 3 very simple rules in mind and try to apply all of them when shooting for bokeh, and you will become a bokeh king like myself! 🙂
- Use the brightest lens you have and use it wide open (with the smallest numer, set to that number) 2.0, or 1.8, or even 1.4
- Stay as close as possible to the subject, as close as your lens allows you to focus that is!
- Try to keep your subject as far as possible from the highlights in the background that will become your bokeh, move the subject, when possible, further for the background, or position yourself somewhere else so the background will be further from your subject.


